Yabai - Efficient window management on macOS
Are you tired of dragging windows around and resizing them everytime you open or close an app in your workspace?
For the past several years I have tried numerous window management softwares like Moom, Spectacle and Rectangle.
I was using Rectangle since last year and was quite happy with the ability to move windows around quickly with keyboard shortcuts. I used to work on a multiple monitor setup, so it was easy to manage multiple windows and partitions on big screens.
I was working on Linux for a while and bumped on i3wm, which is a tiling window manager. The nicest thing about a tiling manager is you can control nearly everything from the keyboard.
It’s very quick and easy to set up side-by-side windows, and resizing one automatically resizes the other. It really helps on smaller screens, since by default everything takes full space on screen with minimal window decoration.
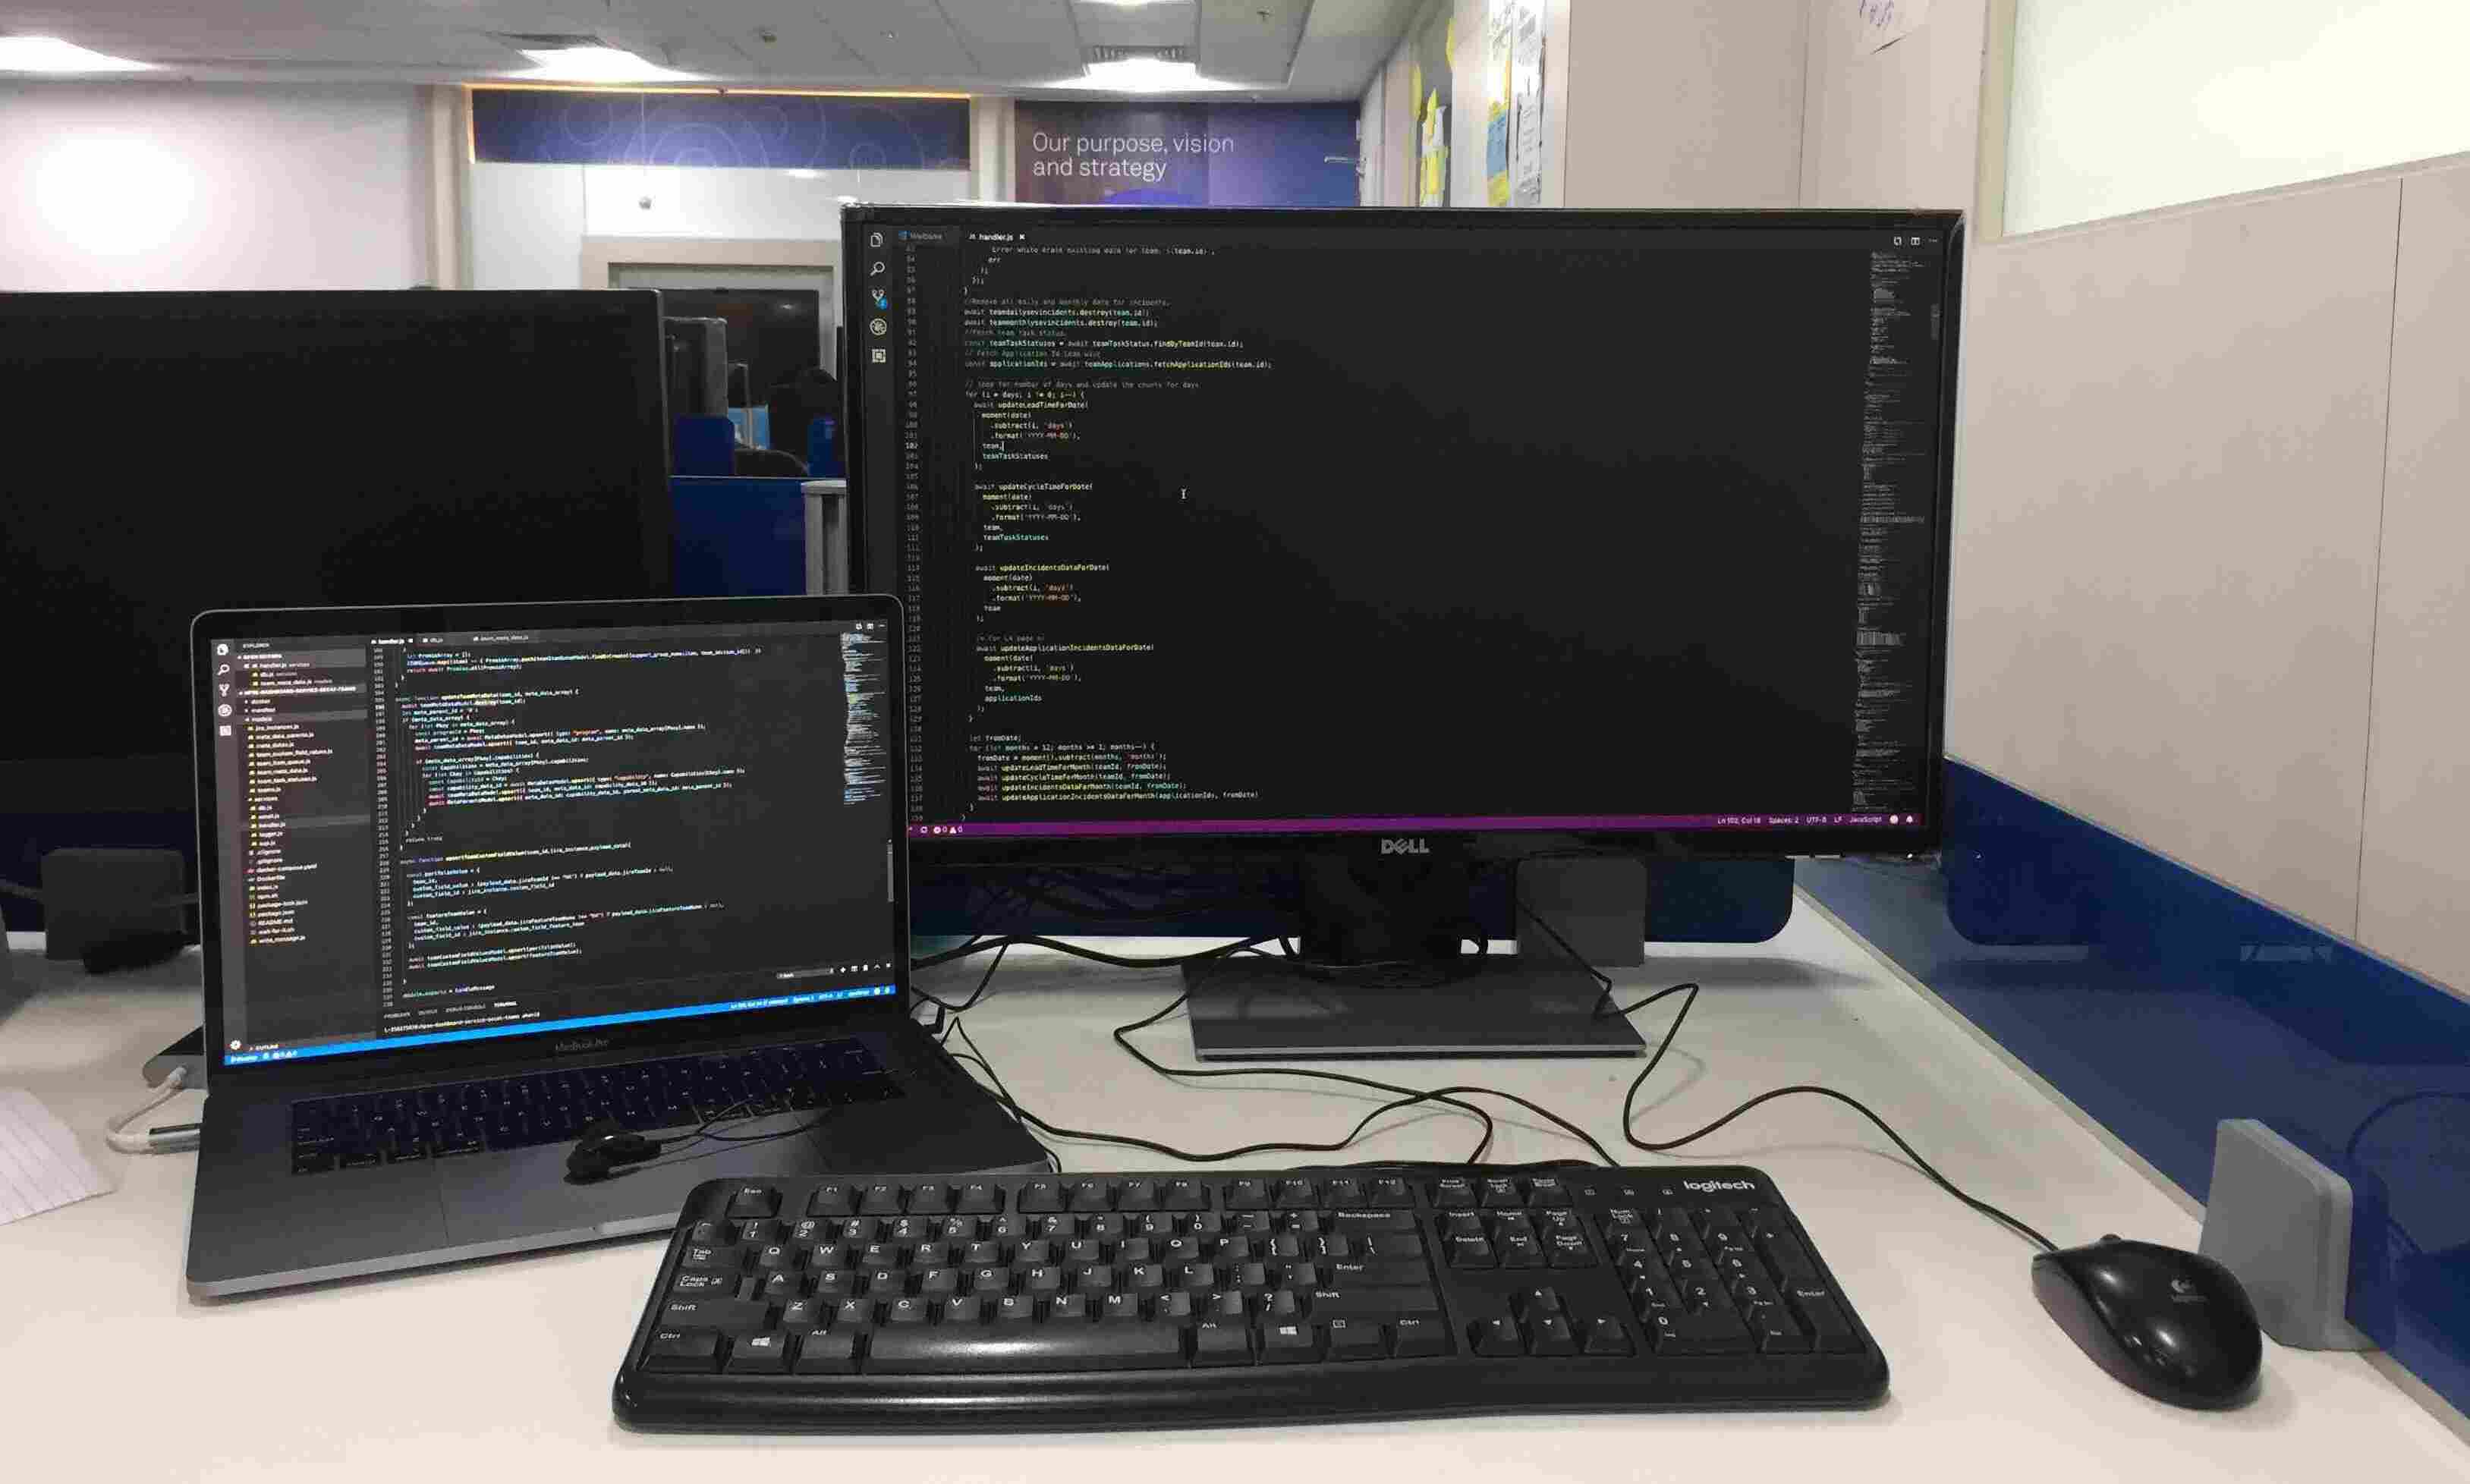
As I switched back to my 13” Macbook again, I felt the lack of efficient window management on macOS. I started searching for a solution and found this open source project Yabai.
I use most of my IDE and terminal in full screen now due to the shortage of screen size. Whenever I open an app, it splits the previously active and new window in half and after closing it, the active window restores to full screen in a snap. That saves me few extra clicks of resizing the windows again and again.
This has improved my workflow and increased my productivity a lot.
You can follow the steps below to quickly get it running on your system.
Step 1: Disable System Integrity Protection
- Turn off your device
- Hold down
command⌘Rwhile booting your device. - In the menu bar, choose Utilities, then Terminal
# If you're on macOS 10.14 and above, run
csrutil enable --without debug --without fs

# If you're on macOS 10.13, run
csrutil disable
- Reboot your system
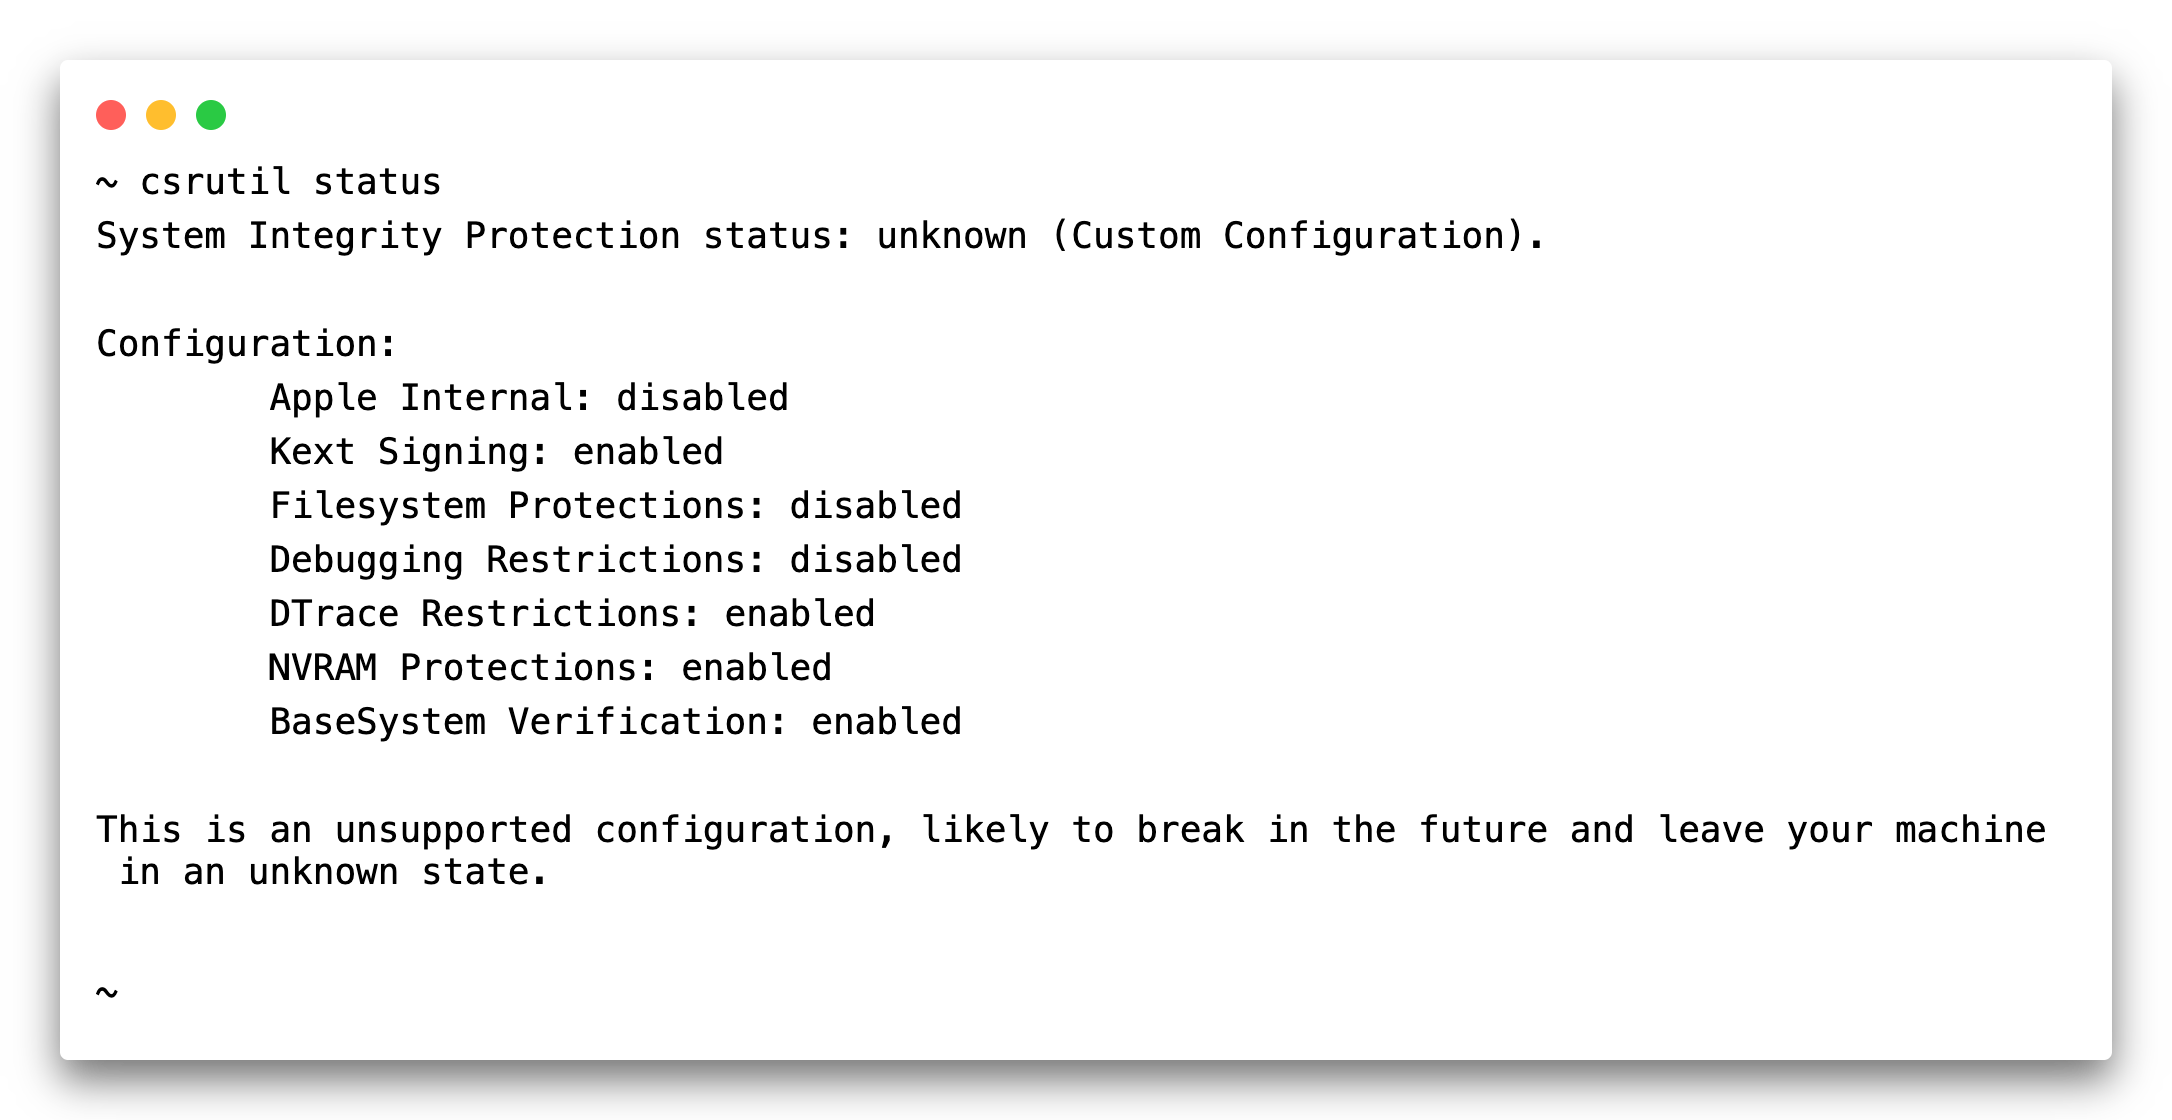
- Verify that System Integrity Protection is turned off by running
csrutil status, which returns System Integrity Protection status: unknown / disabled
- You can use this while SIP is enabled, but you’ll lose some cool features.
Step 2: Install Homebrew
Homebrew is a package manager for macOS. Similar to pacman on arch or aptitude on ubuntu
Open Terminal and run
/bin/bash -c "$(curl -fsSL https://raw.githubusercontent.com/Homebrew/install/master/install.sh)"
Step 3: Install Yabai
brew install koekeishiya/formulae/yabai
Start yabai service
brew services start yabai
You will get a prompt to allow yabai accessibility permissions. You can navigate to Security & Privacy, then Privacy, then Accessibility.

Now install the scripting addition.
sudo yabai --install-sa
Restart Dock.app to load the scripting addition
killall Dock
Step 3: Configure Yabai
Create a configuration file and make it executable
touch ~/.yabairc
chmod +x ~/.yabairc
There are multiple options for configuration you can put in yabairc file.
Important configuration for tiling is binary space partitioning layout (bsp)
yabai -m config layout bsp
I also like to keep the auto balance on. In this configuration, windows always occupy the same space, independent of how deeply nested they are in the window tree.
yabai -m config auto_balance on
Make sure to restart the service to see the changes
brew services restart yabai
Here is a small demo of the working setup.
Let me know your experience after using this window manager 🤟.
#productivity #development #macos